
Where to start
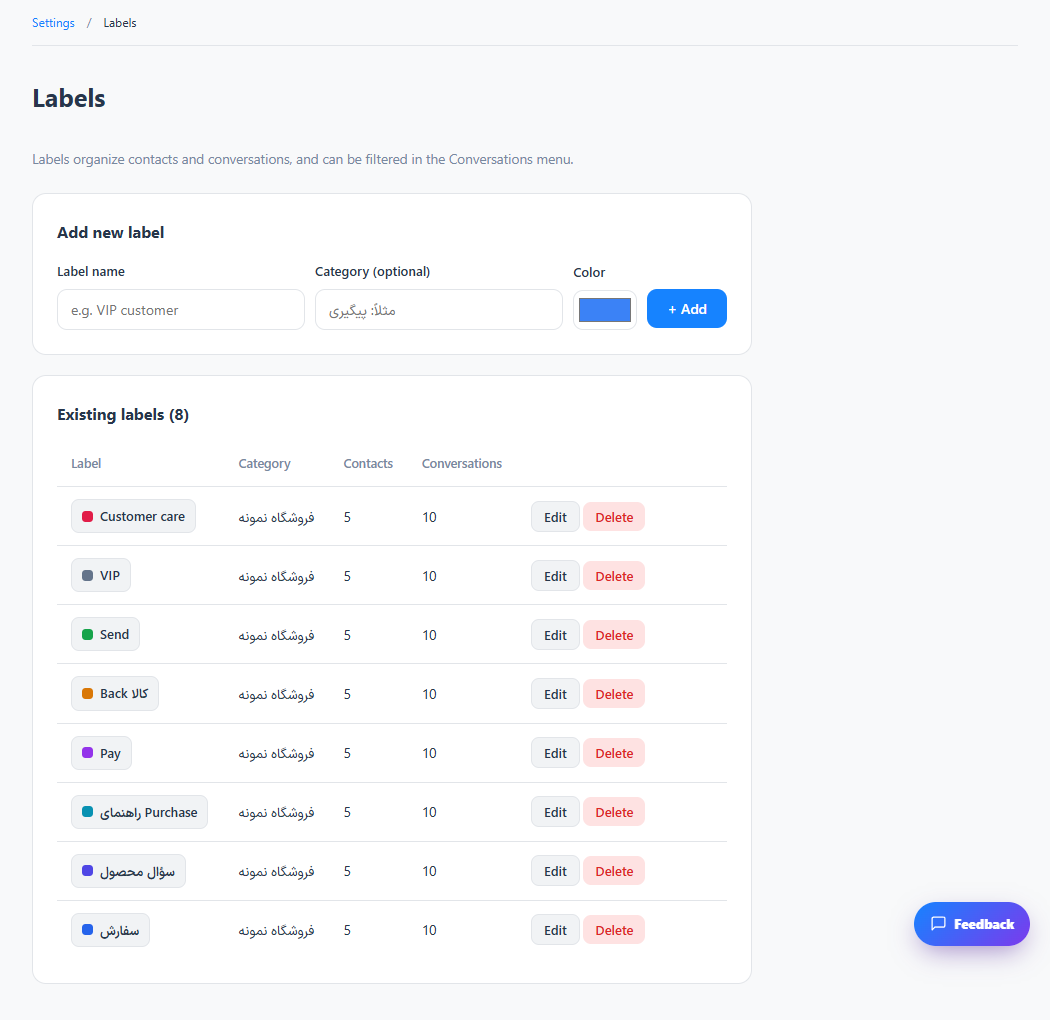
Settings → Workspace → Labels
For panel settings, sign in to the intended workspace with a role that has access to that section. Available tools depend on your plan and configured services.
Step 1
Create a label with a meaningful name and a distinct color.
Step 2
Apply it to the relevant contact or conversation from its label section.
Step 3
Use the label in filters, supported automation rules and label reports.
Check the result
Requests with the same topic become easier to find and measure.
If something does not work
Check the selected workspace and inbox, your access role and the save confirmation. Reload the page to confirm the saved state. If the issue continues, contact support with the page name and error text.
Contact support